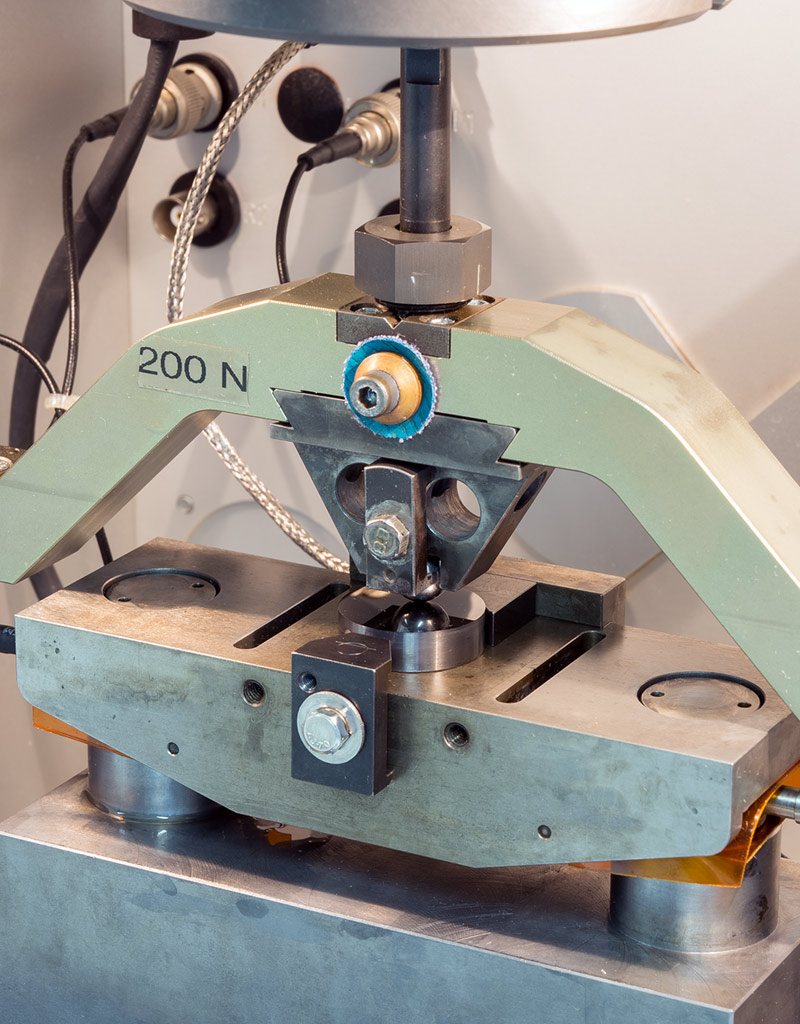
Ball-on-flat test setup for tribological characterization

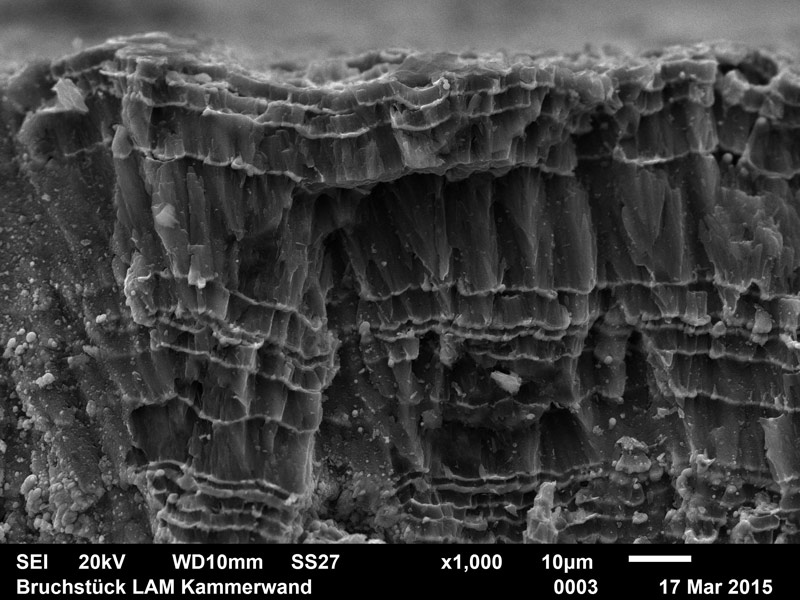
SEM image of a carbon-chromium multi-layer cross section

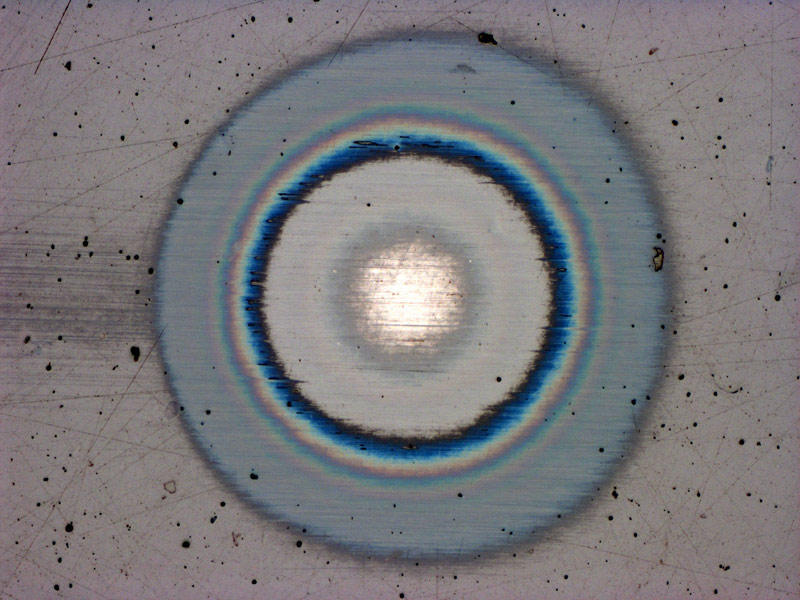
Coating thickness evaluation on a carbon coating with complex interlayer architeecture, using crater-grinding method
Tribometers
- assessment of friction and wear
- motion: rotating, oscillating
- normal load: 1…2000 N
- frequency: 1 … 500 Hz
- temperature: -5…350°C
- lubrication: single drop, bath, unlubricated, controlled atmosphere, vacuum
- devices: SRV4 (Optimol Instruments), SVT (Wazau), Basalt UHVT-14 (Tetra)
LAwave Measurement System
- laser-induced surface acoustic wave spectroscopy for measurement of elastic properties, coating thickness, damage depth, defect density
- different sensors for coating thickness from 3 nm to 500 µm
- devices: stand-alone, mobile table-top
Scratch Tester
- adhesion testing
- diamond indenter with Rockwell geometry, tip radius 50, 100, 200 and 500 µm
- normal load 10…100 N
Nano and Micromechanical Testing Devices
- instrumented indentation testing, (nanoindentation) and scratch testing
- indentation hardness and modulus, adhesion, friction force, acoustic emission, vertical displacement
- normal load 0,01…30 N
- indenter geometries: Berkovich, sphere with radius 10, 20, 50 und 100 µm
- 2 devices: ZHN (Zwick/Roell), MCT3 (Anton Paar)
Crater-grinding Method
- coating thickness measurement through crater-grinding method
- fully automated measurement of up to 10 calottes, automated slurry feed
- can be used for depth-resolved measurements for instrumented indentation testing
- duration 1 min up to 20 hours
- device: KSG 110 (Inovap)
Contact Mechanical Simulation
- software FilmDoctor Studio
- coating systems with up to 5 individual layers
- consideration and calculation of intrinsic stresses
- examples of contact cases: nanoindentation, tribological ball-on-plate contact, scratch testing
- import and calculation with actually measured data
We also use resources of other in-house research groups.
Raman Spectroscopy
- example: Characterization of configuration and hybridization of amorphous carbon coatings (a-C:H, a-C, ta-C)
Microscopy and Other Imaging Methods
- optical microscopy, including DIC (differential interference contrast method)
- 3D microscopy (confocal, interferometric)
- scanning electron microscopy (SEM), energy-dispersive X-Ray spectroscopy (EDS)
 Fraunhofer Institute for Material and Beam Technology IWS